Hole-by-Hole
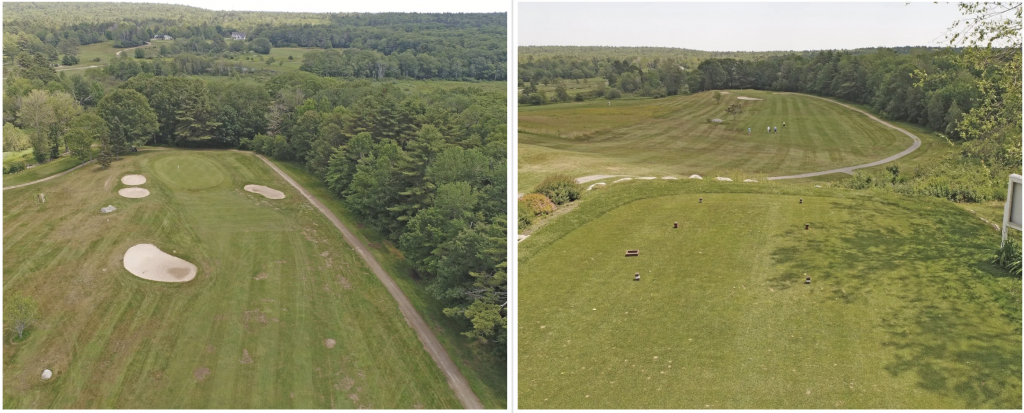
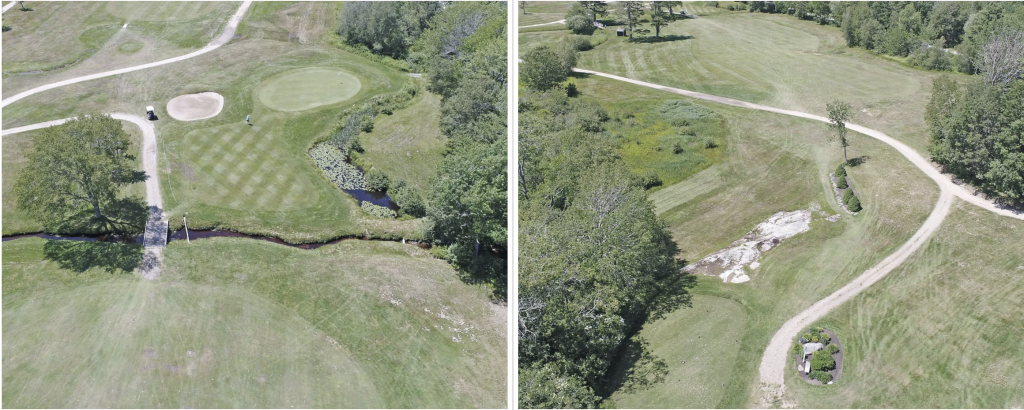
Hole # 1 - Par 4
Perched on the elevated tee of Hole #1, you’re met with a sense of anticipation and confidence for a great round ahead. The generous fairway unfolds below, offering a clear view of the green on this approachable—but subtly demanding—par 4.
Whether you’re a seasoned player or just finding your rhythm, the smart drive is just right of center, setting up a second shot that avoids the guarding bunkers. But take note: the woods behind the green and the sharp slope to the left remind you not to over-club or pull your approach.
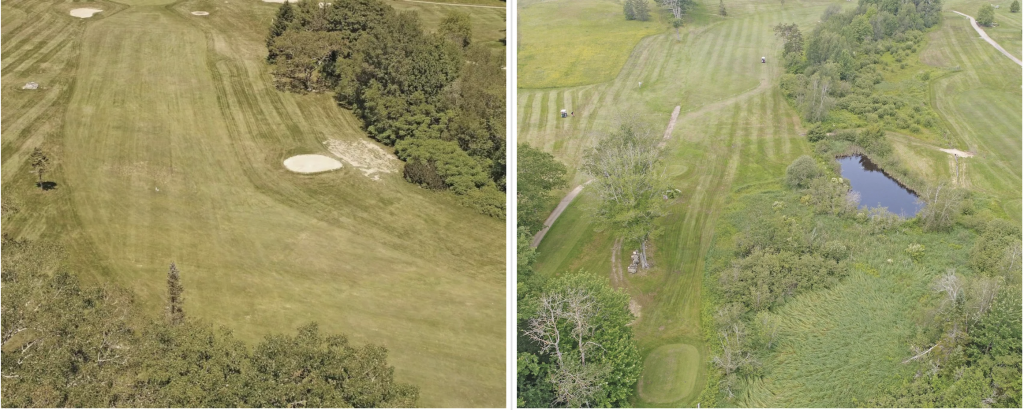
Hole #2 - Par 4
This long par 4 plays tough from the back tees, demanding a straight drive followed by a solid long iron to reach the green. From the forward tees, a well-placed fade off the tee and a mid- or short iron should set up a good chance to reach in regulation.
Don’t be tempted to cut the corner—an undercooked fade can easily kick into the woods on the right. Instead, from the forward tee, aim at the large rock and work a fade toward the center of the fairway.
As you align your approach, be aware that not all bunker trouble is visible from the fairway. A hidden bunker lurks long and right, ready to catch any shot that sails past the green.
Hole #3 - Par 3
This is one of the longest par 3s in Maine. Big hitters can confidently go straight at the flag, while others should focus on simply reaching the green. The terrain's natural contours can help—expect some roll to the right and uphill, potentially nudging the ball closer to the target.

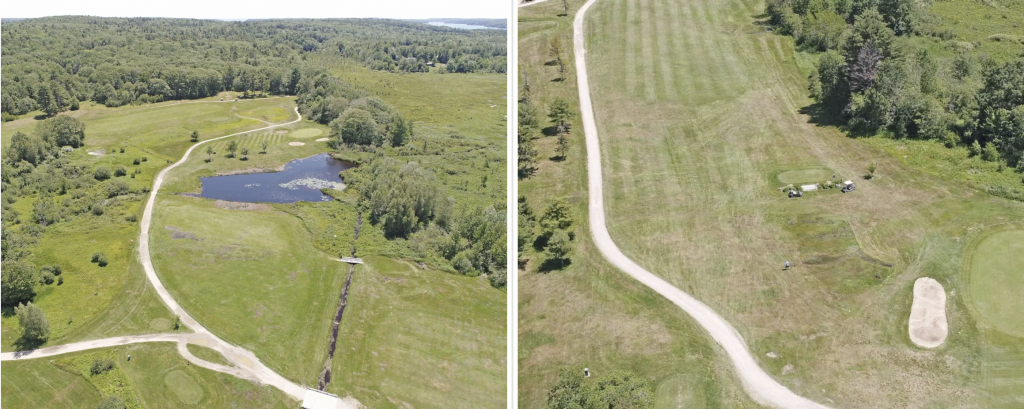
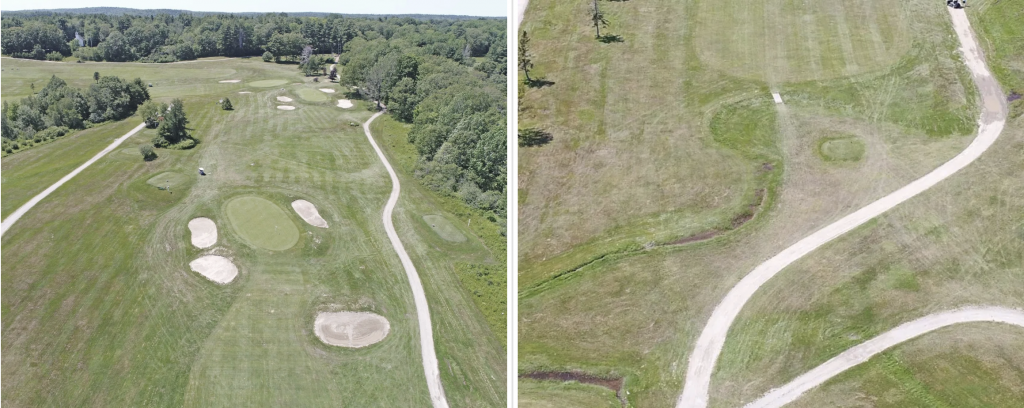
Hole #4 - Par 5
Aggressive power hitters may aim right toward the creek, setting up a glimpse of the green and a chance to reach it in two. For most players, the smarter strategy is to keep the tee shot in play and set up a solid second shot over the creek to the fairway beside the pond.
On the approach, carrying the bunkers and holding the green is ideal—but playing it safe to the left leaves a clear, unobstructed chip-and-putt for par.
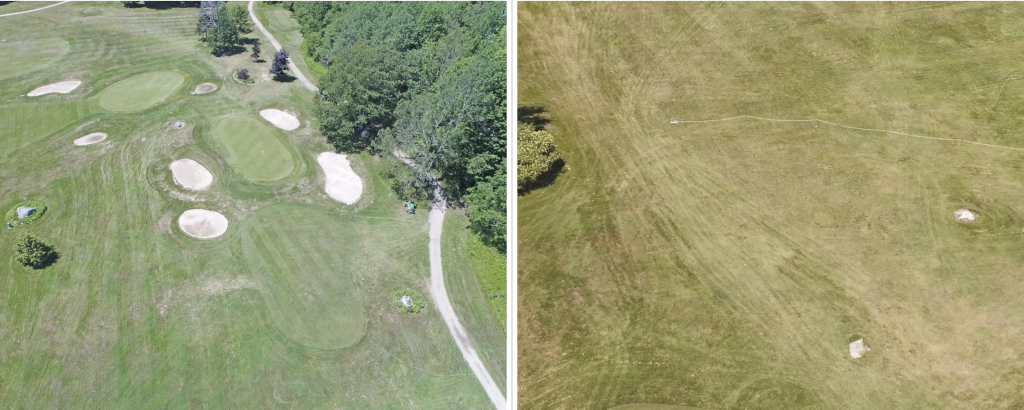
Hole #5 - Par 4
Much like Hole #2, this hole presents two distinct strategies. From the back tees, it takes two strong, straight shots to reach the green and set up a two-putt for a par. From the forward tee, a well-shaped draw around the corner is ideal, leaving a short iron into the green.
Careful tee shot placement is key—a long, straight drive from the forward tee can run through the fairway and into the woods on the far side. The green is well-protected, with bunkers guarding both the left and right.
Hole #6 - Par 4
Arguably the most scenic hole on the course, #6 is a reachable par 4—but it doesn’t give up easily. The tee shot, from either elevated box, offers a generous landing area. It’s the approach that makes or breaks the hole.
A creek runs across the front, a small pond guards the right side of the green, and a bunker waits on the left. Precision on the second shot is key—and those who find it will be rewarded.
Hole #7 - Par 4
There’s no mystery to Hole #7—everything is right in front of you. And that’s exactly the challenge. The open view from the tee invites a big swing, but a miss can land you in the trees on the left or thick rough on the right. From the back tee, a slight draw is the ideal shape.
The green is deep and designed to receive approach shots well, making it a solid target—even with a long iron—as long as you steer clear of the bunkers guarding both sides.
Hole #8 - Par 3
The course’s other par 3, Hole #8 features a two-tiered green, and that elevation change can turn a solid drive into a bogey if you’re not careful.
The smart play is to leave your ball below the pin—putting downhill from the upper tier to the lower is no easy task. Miss too far right off the tee, and you’ll find yourself in the massive “Big Bertha” bunker, making a par save a challenge.
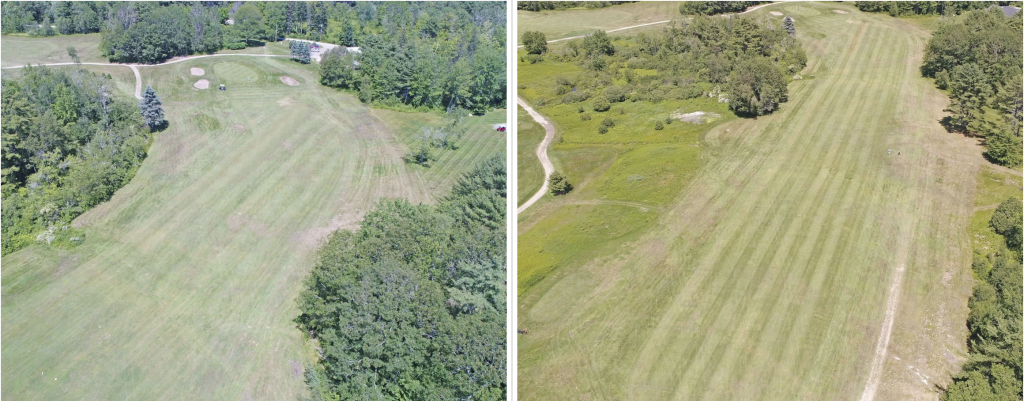
Hole #9 - Par 4
On the course’s finishing hole, the fairway slopes steadily from right to left, leaving most drives with a challenging sidehill lie for the second shot. To reduce the slope’s impact and avoid bringing the right greenside bunker into play, aim long and left off the tee—this opens up a clear path to the green.
The massive putting surface is deceptively tricky, with subtle breaks that can catch even seasoned players off guard, so take extra care reading both speed and line.
